Now that we have our basic application set up, we can dive into the more detailed work.
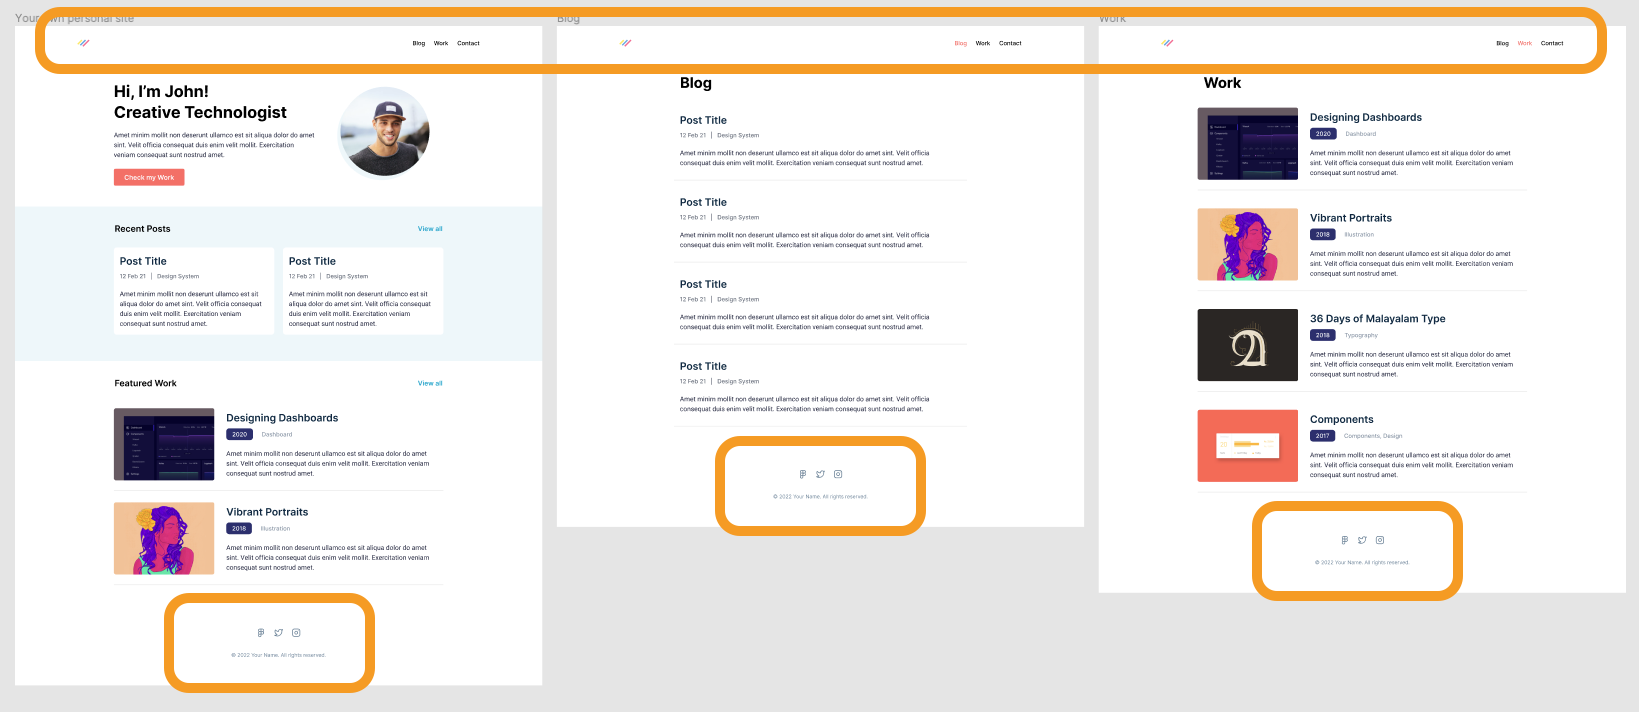
In part 1 I asked you to think about the global structure you are seeing, and in the template I picked, we got to know there were three designed pages.

The common element on all these three pages is the header and footer part. They look the same on every page and thus can be created in one layout file, so we don't have to repeat ourselves.
In this article, I'll show you how to do just that.
Creating the layout
Let's start by adding our layout file. For this, we must first add a components folder to our project.
Then inside, create a file called layout.js.
Let's start with some hardcoded layout elements, and we'll move them to our components later.
export default function Layout({ children }) {
return (
<>
<header>Header</header>
<main>{children}</main>
<footer>© 2022 - Our portfolio</footer>
</>
);
}As you can see, a layout is technically simply a component that renders some other elements.
Inside, it renders "children", which is whatever we put inside of it.
To use this layout, we need to load it from our _app.js file.
This file is the entry point for our application.
It will return whatever we throw at it by default, but we can wrap that into this layout.
import '../styles/globals.css';
import Layout from '../components/layout';

function MyApp({ Component, pageProps }) {
  return (
    <Layout>
      <Component {...pageProps} />
    </Layout>
  );
}

export default MyApp;
As you can see, the component element is now wrapped in our layout, so the Component will become the children part as defined there.
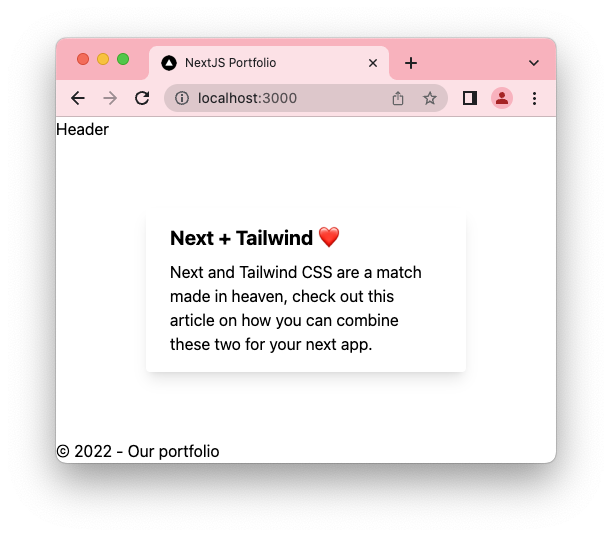
You can now run your project to see it in action. The page should now have the header and footer. They don't look much yet, but we'll discuss that in the following article.

If you want to see the code for today, I uploaded it to GitHub.
Thank you for reading, and let's connect!
Thank you for reading my blog. Feel free to subscribe to my email newsletter and connect on Facebook or Twitter