The other day we looked into Angular routing, this was the basic setup, and it will work well.
But today, let's look at something very cool in Angular, Lazy loading routes!
This is how it works very high level.
Everything is loaded on load in our previous example, so once we open the application, all routes and modules are registered and loaded.
With lazy loading, the routes and modules for that route are only loaded once we access it.
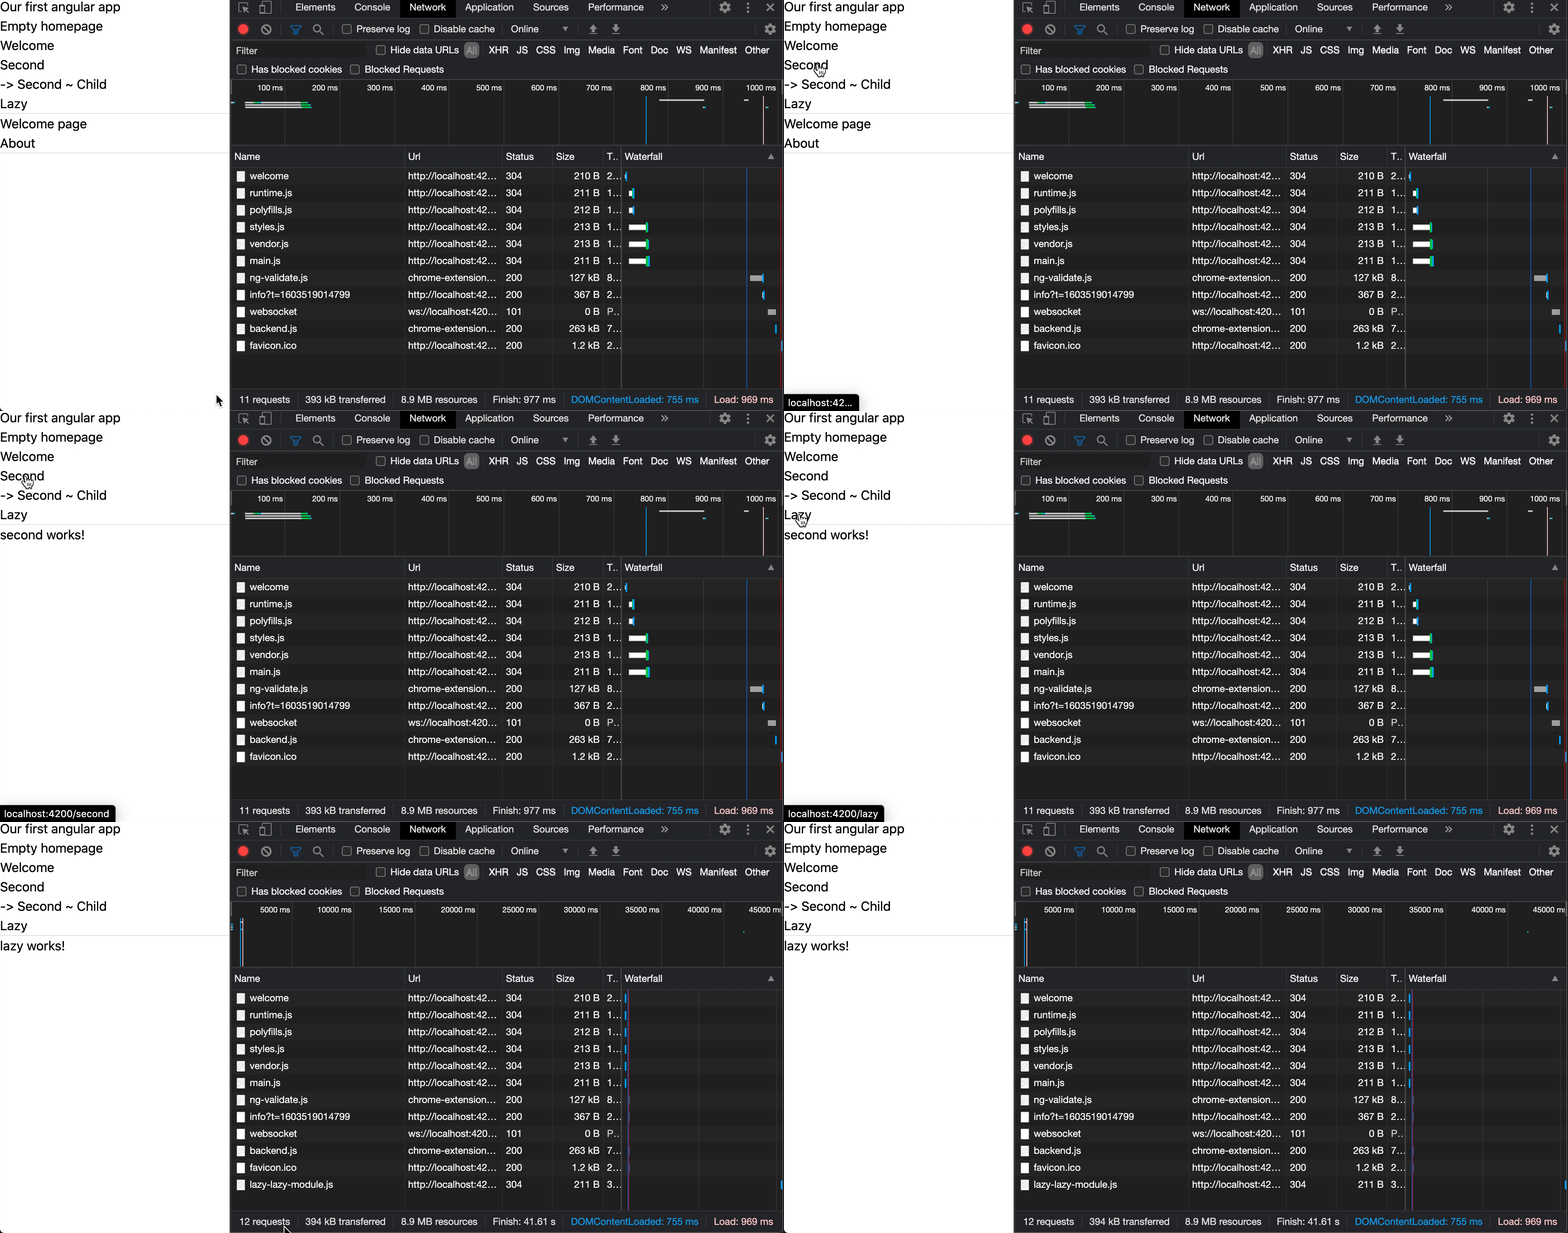
To make it more visually understanding, see this GIF on how it works without lazy loading.
As you can see, we are switching routes, and no new calls are being performed.
Implementing a lazy loaded route
If you want to work along this GitHub branch is where I'm starting from.
First, let's generate a new component with its routing and module.
ng generate module lazy --route lazy --module app.moduleThe component/module needs its routing and module to enable lazy loading.
Now let's register this component in our app-routing.module.ts.
const routes: Routes = [
  // Other routes
  {
    path: 'lazy',
    loadChildren: () => import('./lazy/lazy.module').then((m) => m.LazyModule),
  },
];
As you can see, instead of using the component, we use loadChildren, where we pass the module and then access the actual module.
Let's also add this route in app.component.html.
<h1>Our first angular app</h1>
<nav>
  <ul>
    <li><a routerLink="/">Empty homepage</a></li>
    <li><a routerLink="/welcome">Welcome</a></li>
    <li><a routerLink="/second">Second</a></li>
    <li><a routerLink="/second/child">-> Second ~ Child</a></li>
    <li><a routerLink="/lazy">Lazy</a></li>
  </ul>
</nav>
<hr />
<router-outlet></router-outlet>
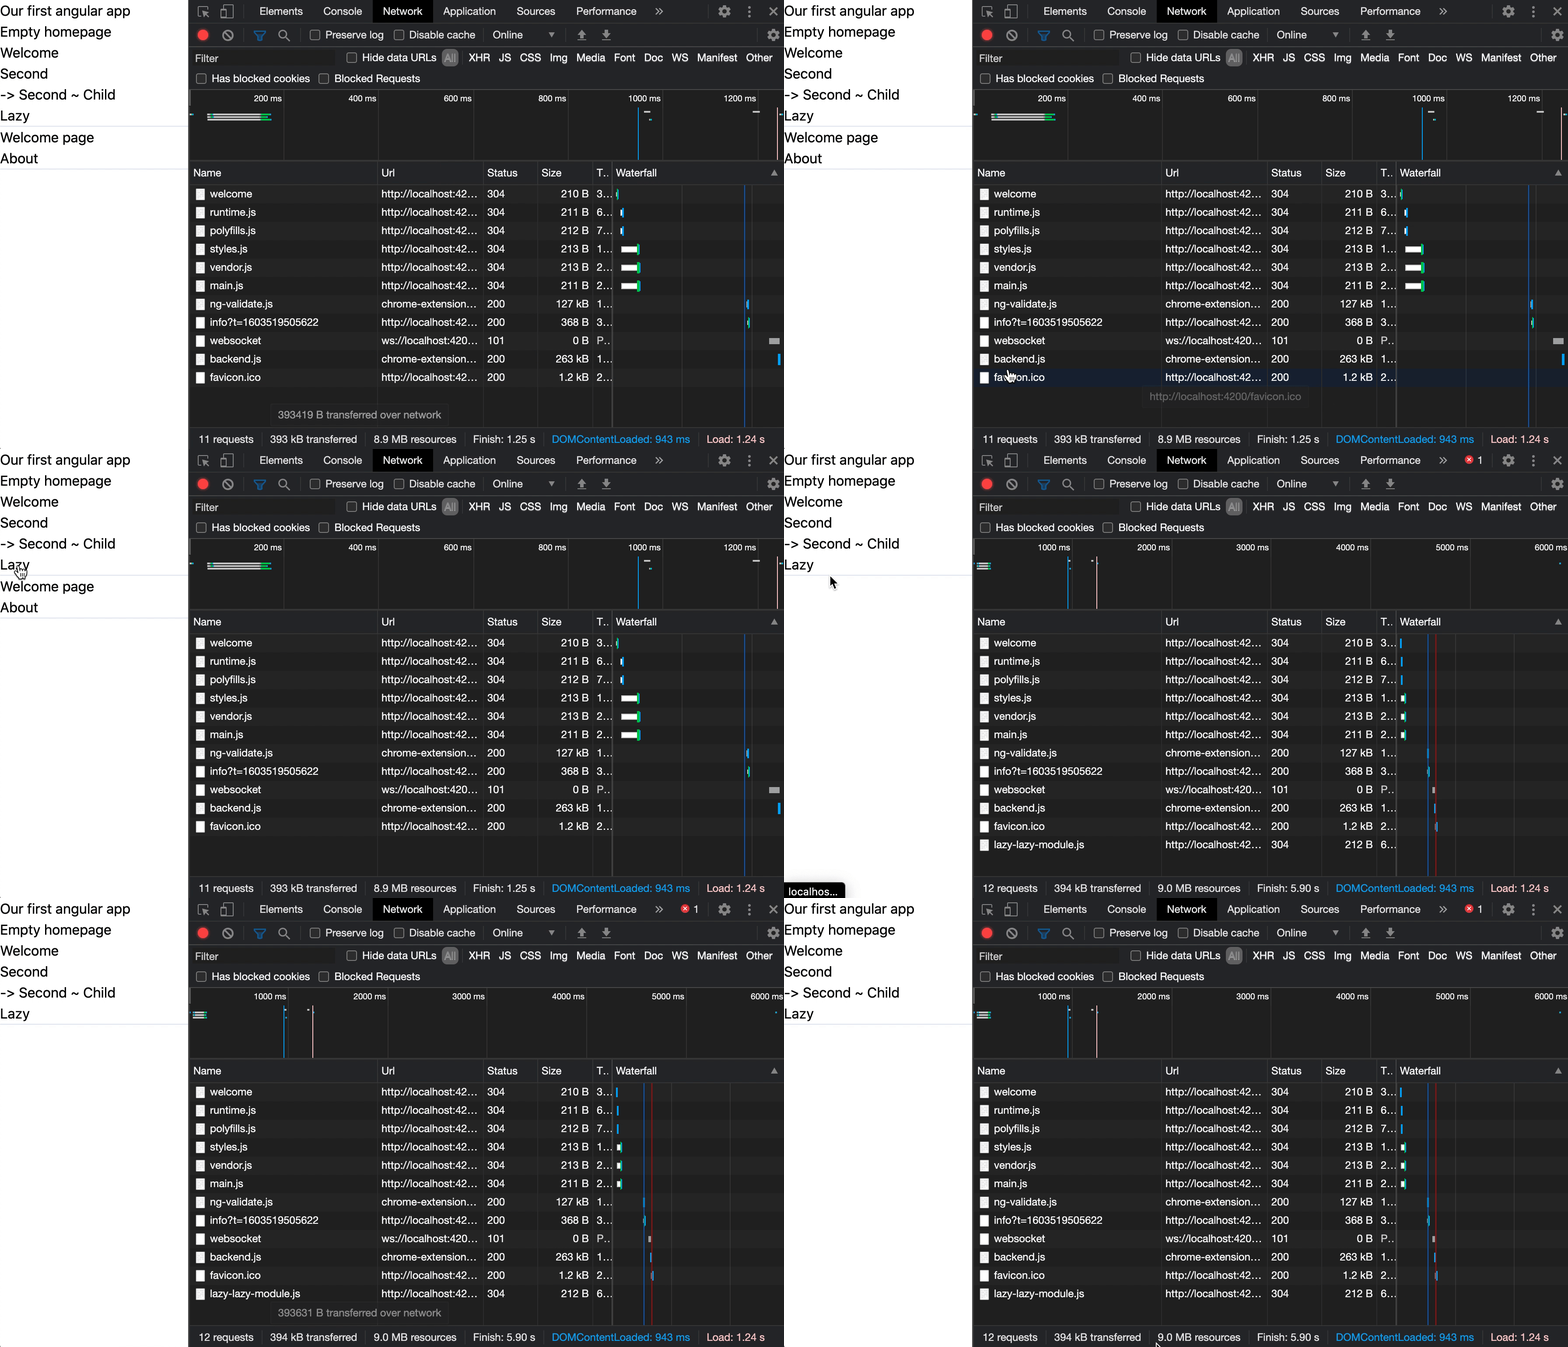
If we run this scenario, we see that once we click on our lazy route, it loads a new script (the module).

So this will make sure the initial load of our app is smaller, which is fantastic.
Now let's add some actual data to our app to see the difference.
Modify lazy.component.ts so it does some data call.
constructor(private http: HttpClient) {
  this.http.get(`https://reqres.in/api/users?page=2`).subscribe(res => {
    console.log('load done');
  })
}
We don't need anything fancy to demonstrate the difference.
Now check the following GIF to see if it makes a difference!

You can find this complete code on this GitHub repo.
Thank you for reading, and let's connect!
Thank you for reading my blog. Feel free to subscribe to my email newsletter and connect on Facebook or Twitter

