Now that we have a basic understanding of what Git is. Let's have a look at what GitHub is.
I love the following analogy as it makes so much sense (I stole this from the internet).
It's the difference between porn and pornhub.
What is GitHub?
GitHub is a website to host your Git repositories. But not just that, it's broader as it's also a place for millions of other developers to host their code.
Many people do their whole open source community on GitHub, making it one sole point of communication.
GitHub is remarkable in having automated actions, issues and managing team development.
Besides that, it gives us a super good visual overview of our code, branches, and pull-request.
A closer look at a GitHub repository
I've opened a repo on GitHub, and this is generally what you are welcomed with:
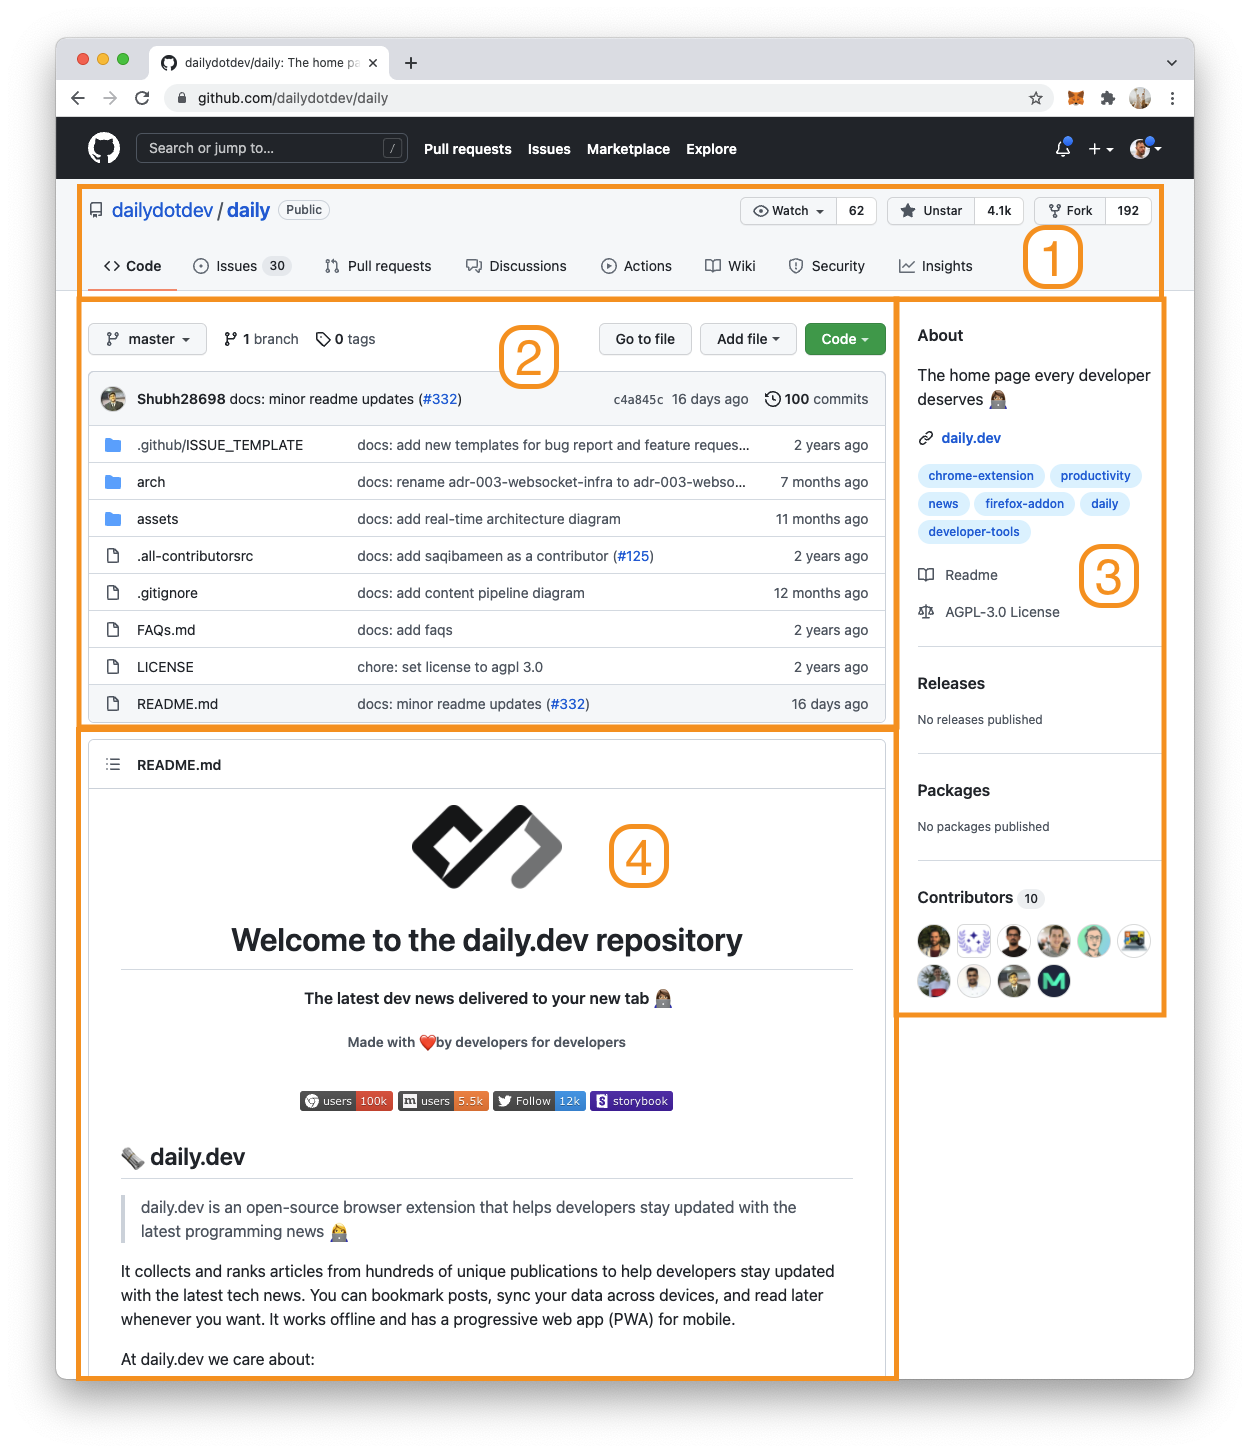
I've divided this layout into four sections:
- Repo header
- Project files
- Sidebar
- Readme
Let's go through each of these items and see what they provide us in more detail.
1. GitHub repo header

The header of a GitHub repo contains a lot of information and gives us a quick overview of what we can do with this repo.
The left top states the company/user and repo name.
In this example, the company is dailydotdev, and we view the repo daily. It also states it's a public repo so that anyone can contribute to it.
On the right, you see some crucial icons with some numbers. These are very important to open source.
- Watch: It's like following a repository. If you do this activity for this repo will show up on your GitHub homepage.
- Star: Stars are one of the most significant things in GitHub for open source projects. The way GitHub works is that repos with the most stars will show up higher in the search. So if you like a project, make sure to star them!
- Fork: Forking a project means you clone the project to your profile as a clone of the project. The general idea is that you will work on an issue and merge a solution back. But you could fork, make changes and use your version now.
The last part of the header contains a menu to navigate the repo options.
-
Code: The actual code files of this project. And generally, the homepage we enter.
-
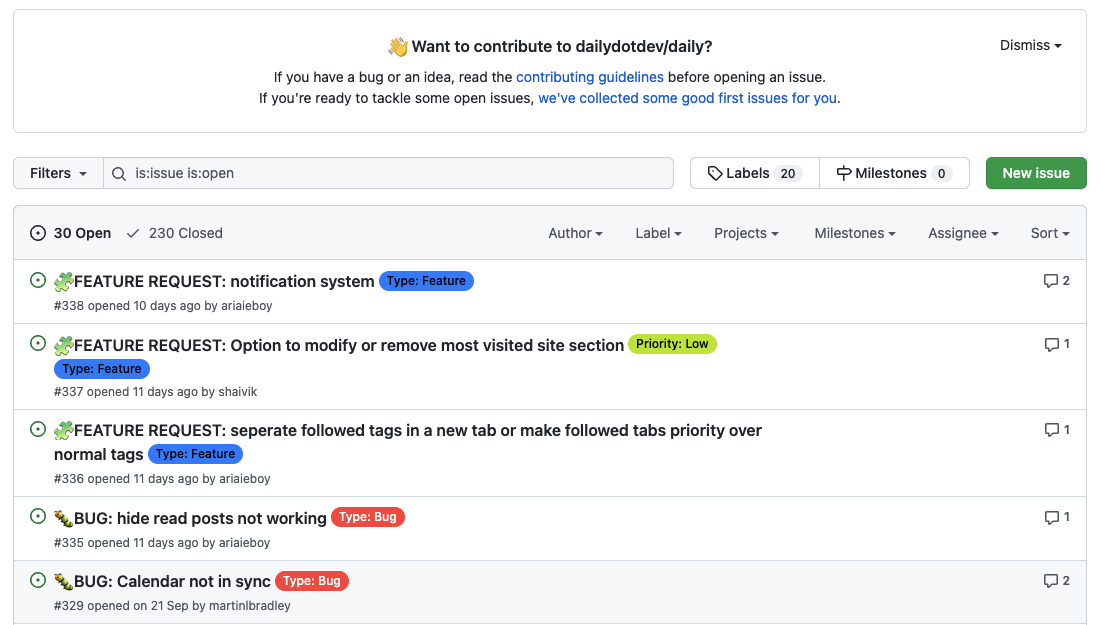
Issues: Issues are like the name suggest issues that are logged for this repository. For public repos anyone can log a problem, and it's a well-known way of logging issues for open source.
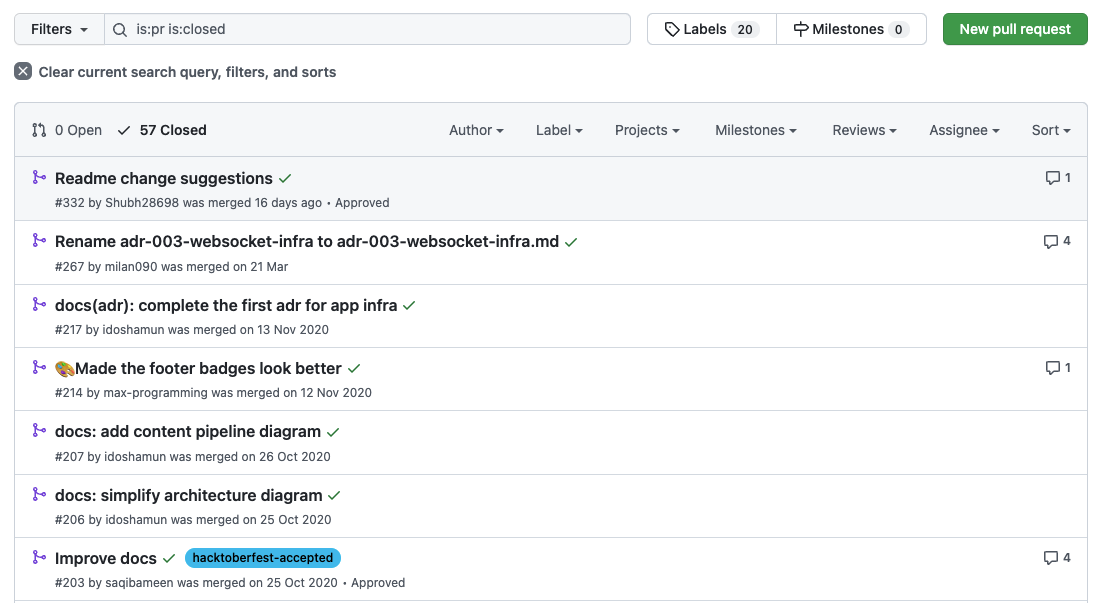
- Pull requests: In general, when it comes to using Git, there is a way of working, which we'll discuss in a later topic. This way uses Pull requests to check code before being pushed on the actual codebase. GitHub provides a super good visual screen for these pull requests.
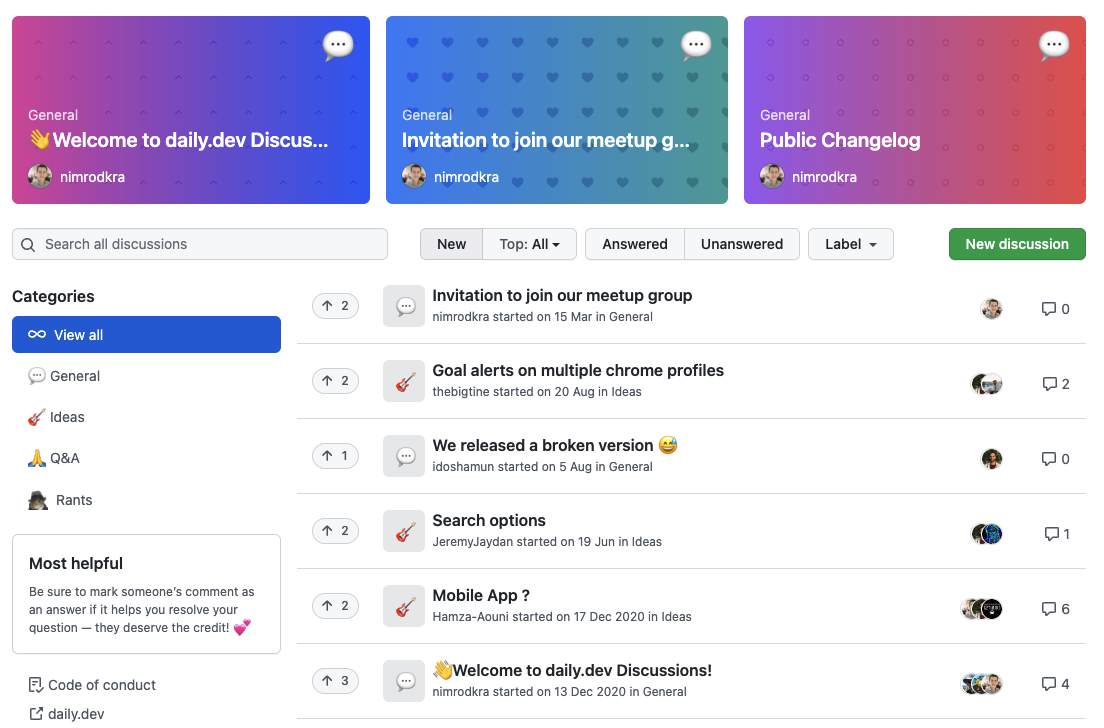
- Discussions: Discussions are a forum-like experience for a repository. It's a great way to have open discussions with people who use the repo and the maintainers. And it could include discussions for features that are not yet an issue.
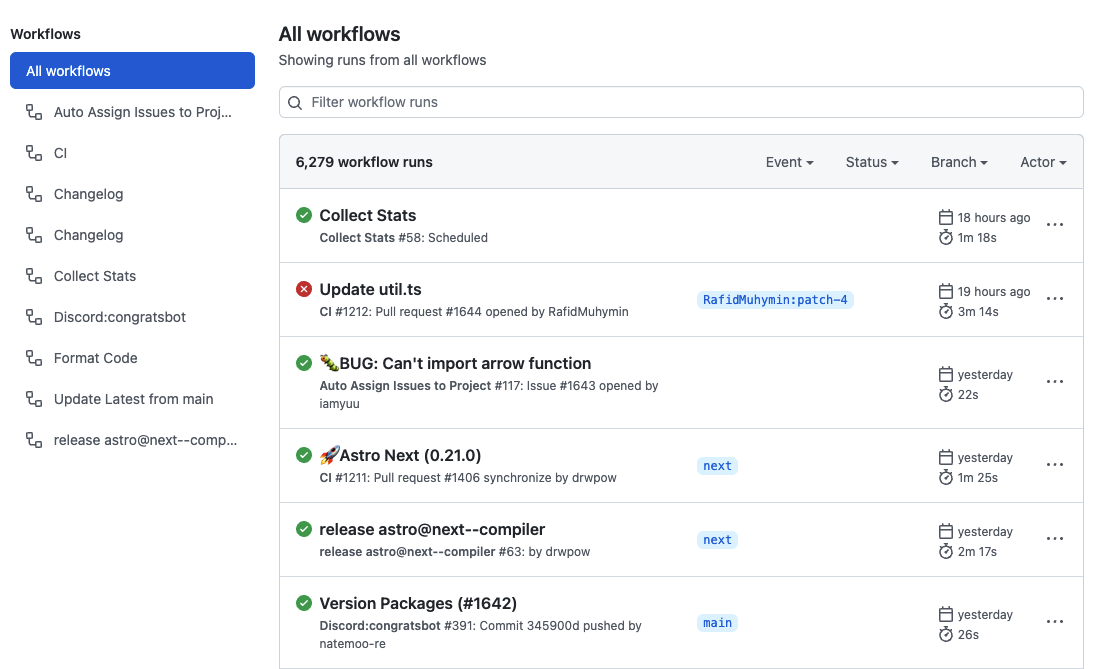
- Actions: Actions are probably the best new thing in GitHub. They provide a way to run specific actions if something happens in our repo. Let's give you an example and say a PR is merged. This could spark an action that automatically deploys this code to our website.
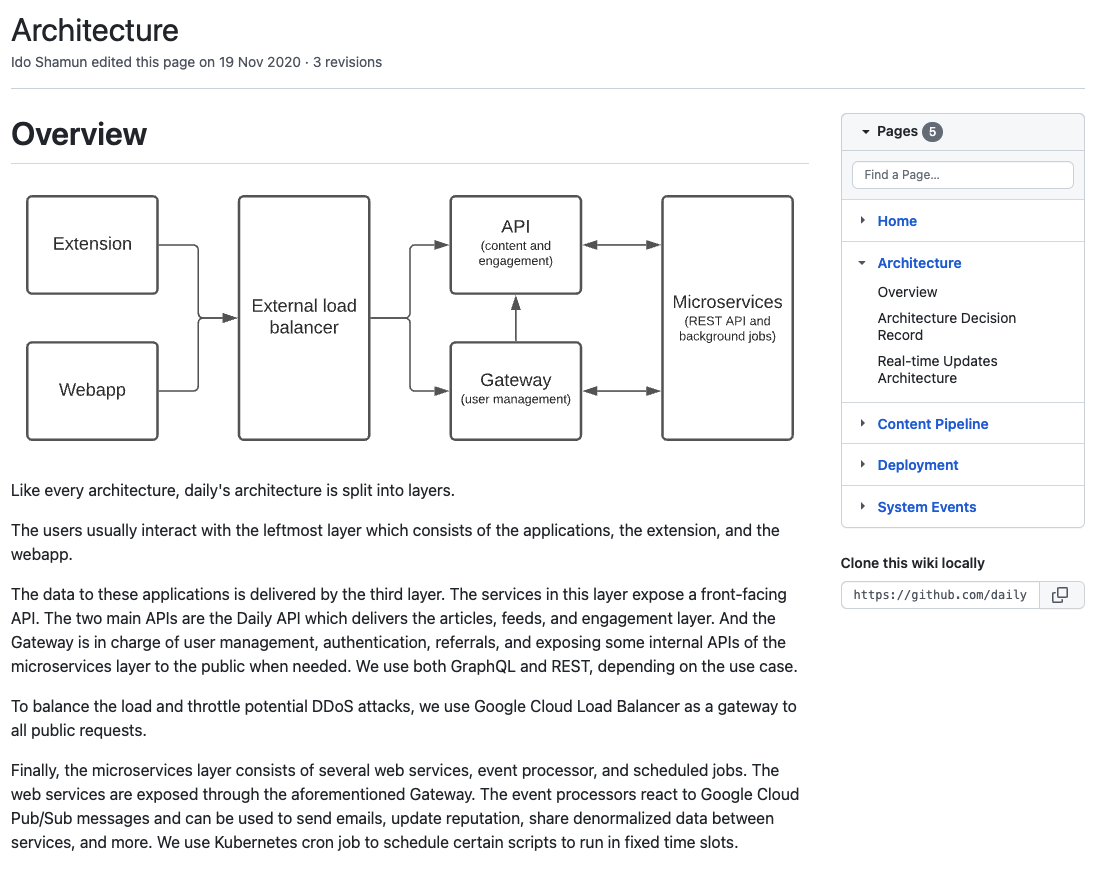
- Wiki: The wiki is a built-in wiki. It's a great way to add a more extended multi-page readme. And could tell people a lot more in detail about certain aspects of your project.
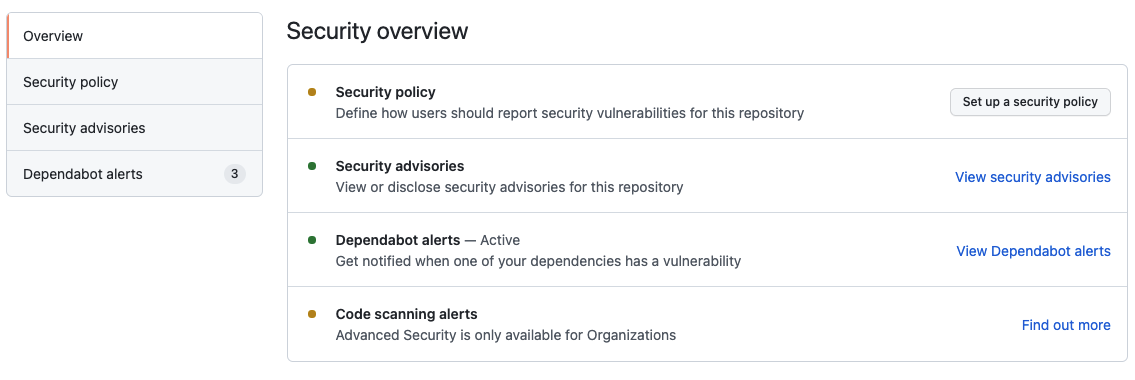
- Security: The security tab is most important to the maintainers of the project. It gives all the vulnerabilities a project might have. It can also scan your codebase for common mistakes as including secrets in your code. We can also set up dependabot from here.
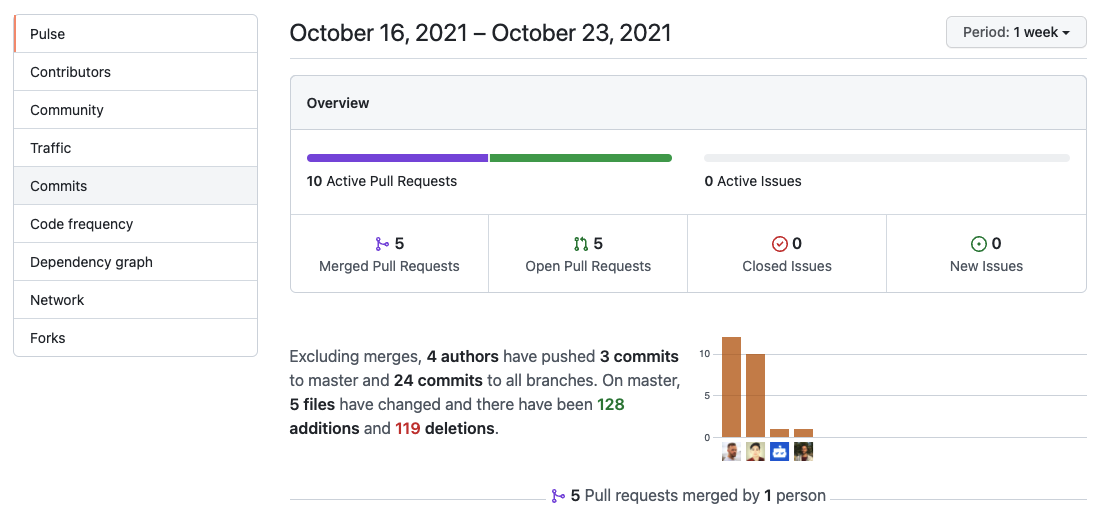
- Insights: The insights tab gives a good overview of the activity on a particular repo. It also shows the contributors and dependencies. It's an excellent way to see how well a repo is used.
2. GitHub project files
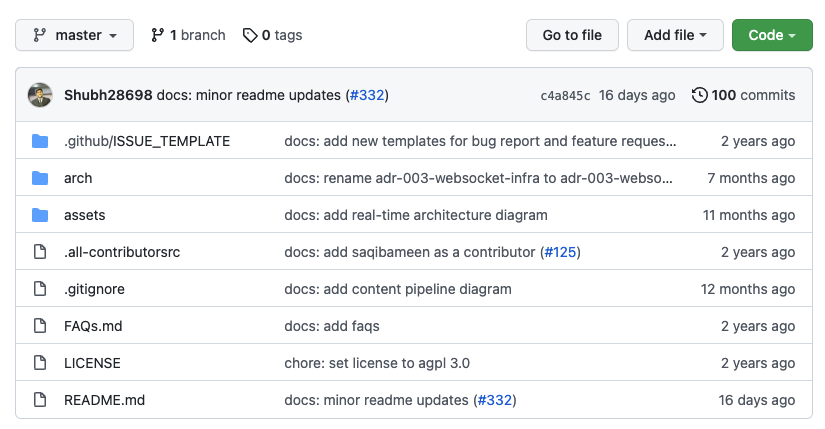
The project files are the actual files of the project, and we can even navigate through folders and open files from this view.
-
Branch dropdown: This dropdown can be used to switch between all the branches in a repo. And show the code that belongs to that branch.
-
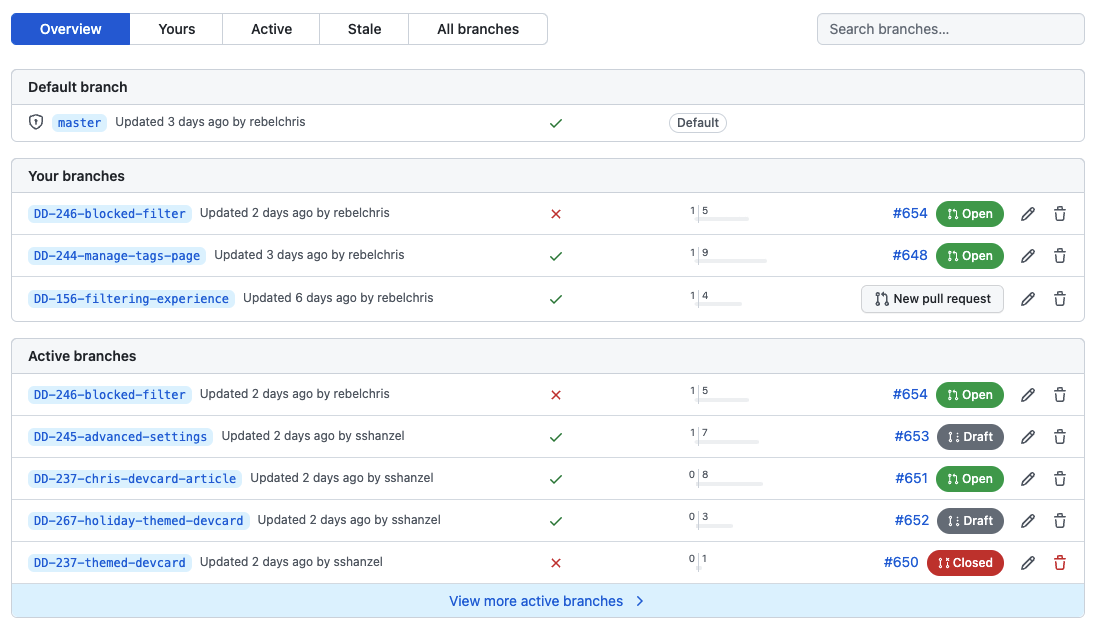
Branches: This is a list of all the branches and how they compare to the main branch. It quickly shows which branch is ahead or behind from the main/master branch and a PR open.
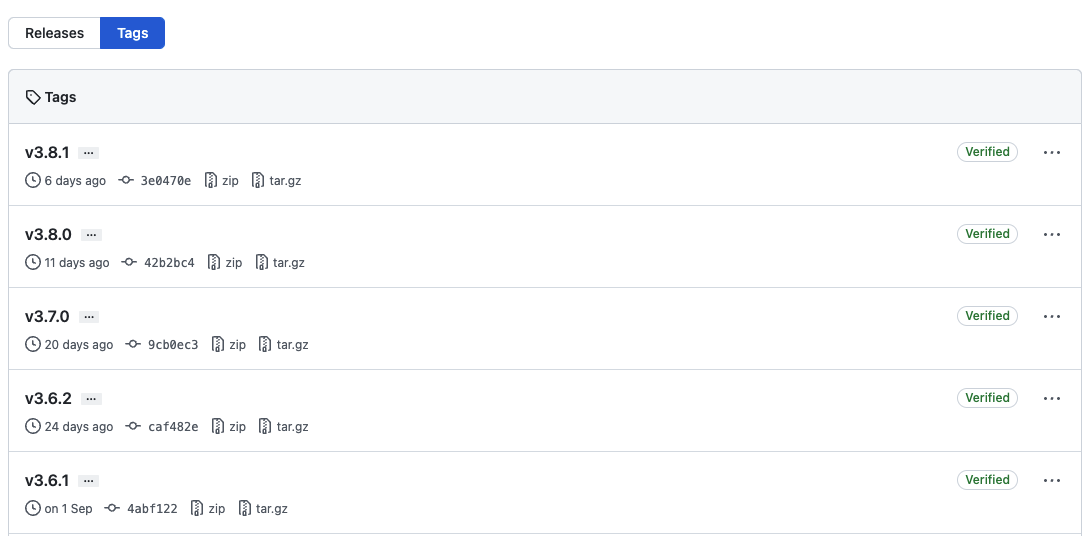
- Tags: The tags open a tag overview. Tags are specific releases that have received a tag. Generally, these are stable versions of a project that you can use.
-
Go to file: This button can be used to quickly find a file in the project. I must admit I don't use this myself.
-
Add file: This button can be used to add a file directly into the project. It will also be added to the commit history. But I would always suggest using the normal git-flow.
-
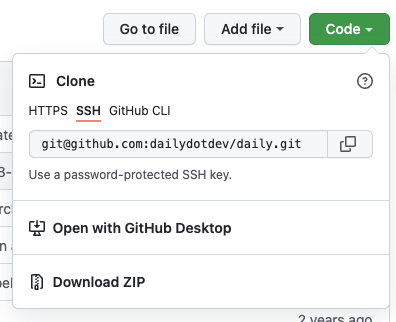
Code dropdown: This dropdown can be used to download the codebase through a link or via SSH.
3. GitHub repo sidebar
The sidebar provides a lot of quick information about a repo in a quick overview.

In the sidebar, we see a lot of cool things:
- About section describing the project
- Link to the project homepage
- Tags Associated with this repo
- License and readme links
- Releases for the project
- Packages if the project publishes its own packages
- Contributors who added code to this project
- Users of this repo
- Languages that are used in the codebase
4. GitHub readme
The readme is an essential part of open source projects. It's the welcome page to your project.
You should use this file to write something about the project, so other people understand what it's for and how to use it.
I'll write a more detailed article on what a good readme should look like.
The short version would be:
- Describe your project
- How to use it
- In short, describe how it works (architecture)
- How to run the project
- Logging issues
- License
This is not a golden standard and can be tailored to your project's needs. My best advice would be to look at what some other big projects are doing with their readme and work from there.
And that's it. I hope you have gotten a good overview of the layout of a GitHub repo and how we can use it. We'll dive into more details in creating our repo and pushing code to it.
Thank you for reading, and let's connect!
Thank you for reading my blog. Feel free to subscribe to my email newsletter and connect on Facebook or Twitter