Loading custom fonts is often needed for websites, applications, and graphic design. Today we'll investigate how to load Google fonts inside a flutter application.
The result will look like this:
If you want to work with me, we start with the basic scaffolding app you can download from GitHub.
Installing the Google fonts package in Flutter
The first step is to load the package for google fonts.
Add the Google fonts package in your pub spec.yml dependencies to do so.
dependencies:
  flutter:
    sdk: flutter

  #Load the Google fonts package
  google_fonts: ^2.1.0
Loading the font
The next step is to import the font package into our dart file. Let's open the lib/main.dart file and place the following import.
import 'package:google_fonts/google_fonts.dart';Now we can use any Google font we desire, but there are multiple options that we can use.
Loading a Google font for a specific Flutter widget
The most basic approach is to set the font on a specific Text widget. We already have one in our example, so let's pick a funky font and see it in action.
I'll use the Pacifico font, because it will best show you how it works.
Now let's add this font as the style for our Text widget.
Text(
  'Hello World 👋',
  textDirection: TextDirection.ltr,
  style: GoogleFonts.pacifico(fontSize: 48),
)
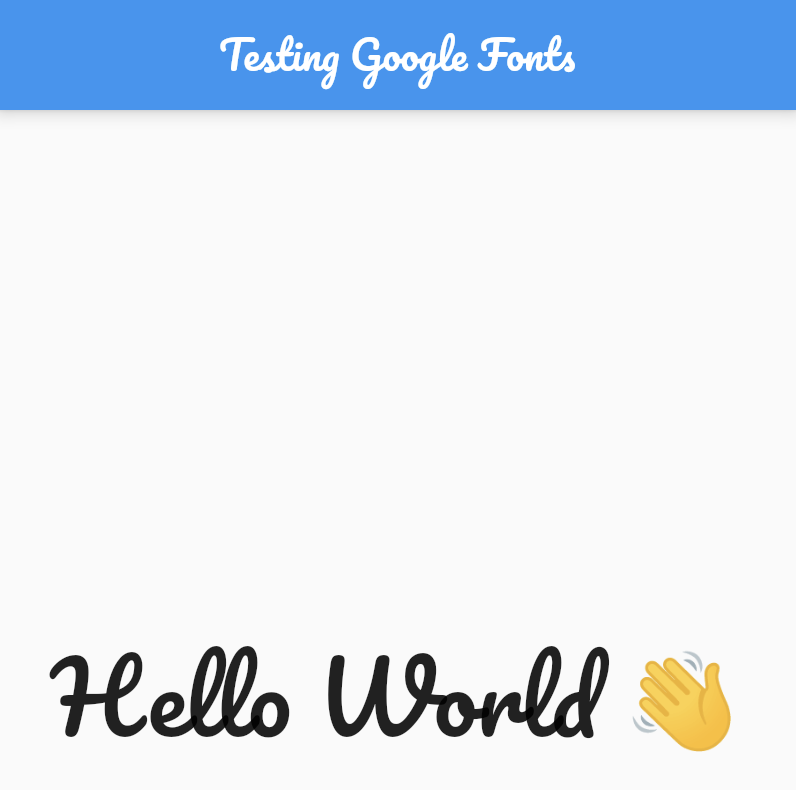
And that results in the following:

A pretty cool win already!
Loading a Google font for the app bar in Flutter
The same can be used to change the font of the app bar if you are using it.
appBar: AppBar(
  title: Text(
    'Testing Google Fonts',
    style: GoogleFonts.pacifico(),
  ),
),
And it will look like this:

Loading Google fonts as a theme font
Another thing we could do is change the whole app theme font to be a Google font.
MaterialApp(
  theme: ThemeData(
    textTheme: GoogleFonts.pacificoTextTheme(),
  ),
)
This will change all the text elements in our main app into this google font!
So if we have our main text like this:
Text(
  'Hello World 👋',
  textDirection: TextDirection.ltr,
),
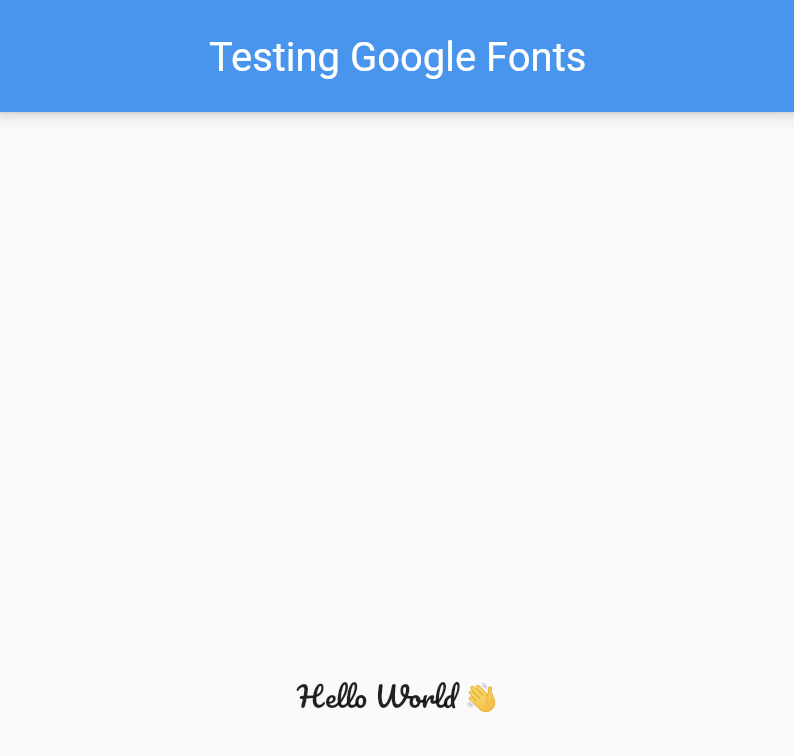
And that will result in:

Note: the AppBar is not changed here as the theme font won't change that by default!
Suppose you want to see how this works? Feel free to check it out on GitHub.
Thank you for reading, and let's connect!
Thank you for reading my blog. Feel free to subscribe to my email newsletter and connect on Facebook or Twitter

